-
Hole #1
Good opening straightaway Par 5. Visible water pond on left. Creek in front and right side comes into play the more right you hit your tee shot. Decent tee ball puts you in good position in fairway-big hitters can get home in two. Bunkers on left and right of green. Green is deeper than you think. Pavement of road is out of bounds on left. -
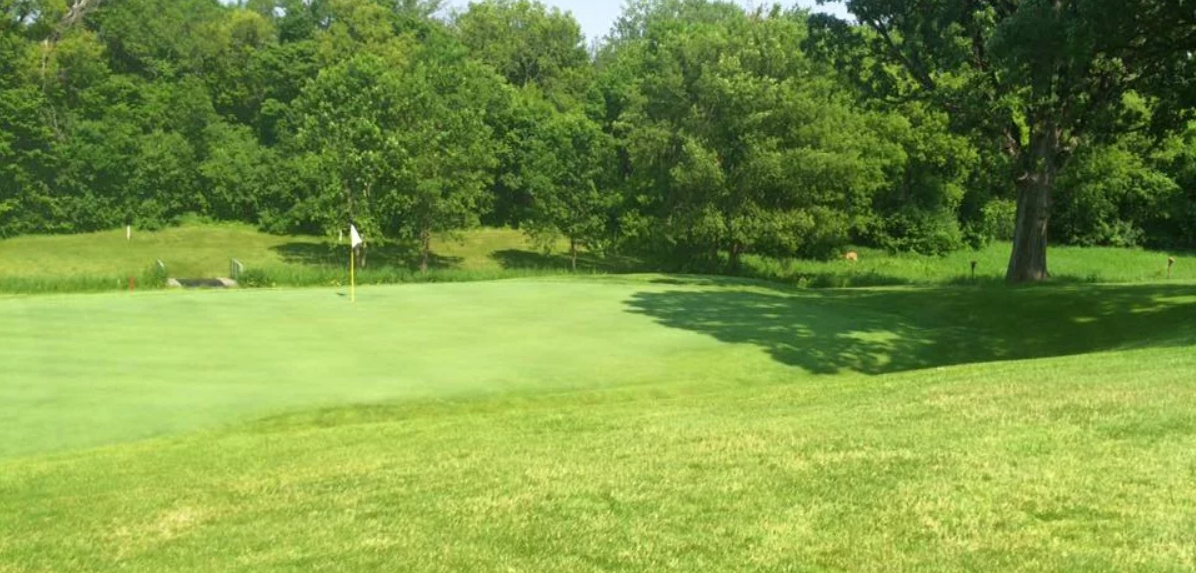
Hole #2
Par 3 that plays more difficult than the yardage suggests. Long shots will quickly be out of bounds and a bunker at left side of green. Up front pins make for attentive putting. Take your par and get to the third tee. -
Hole #3
Out of bounds borders the length on the left side. Hole slopes left to right on tee shot to fairly flat landing area. Bunker on left side of green. Be careful on right side pin placements on approach and putting as ball will fall off sharply to the right. -
Hole #4
Take advantage of this slightly uphill Par 5. With a well-placed drive over water, you should be rewarded with par or better. Water ponds on both sides and out of bounds. Bunkers on right and left side of two-tiered green so take more club on blue pin. -
Hole #5
Many golfers have had a “train wreck” on this hole and cost them good rounds and tournament wins. Don’t overplay the hole. Out of bounds on far left and water on right come into play. Choose a tee shot down left side to middle is best for approach shot. Favor the left side of green to avoid pond on errant shot to right. Let me know if you followed this advice! -
Hole #6
Beautiful downhill Par 3. Creek runs front and left of green with water pond behind the green. Take more club, if blue pin is back left to carry the bunker. Favor a middle to right side of green tee shot for best results. -
Hole #7
Dogleg right Par 4. Tee shot should favor left middle of fairway for best approach. Too far right on tee shot will result in stymied second shot. Bunkers left, front and back of green. Be careful on putts above hole as the green had good slant to it. -
Hole #8
Hole is designed to play right to left off tee with the slight dogleg left. Big hitters are able to blow it up and over trees and land short of the creek for approach to a demanding green. -
Hole #9
Second shot to a small green plays best from left side of fairway. Favor left side of green to avoid right trap. -
Hole #10
Dogleg right Par 4. A little fade over the trees that hug the right side of fairway should put you 125 to 100 yards out. Two-tiered green is pretty severe. Don’t hit your approach on the top tier if the pin is down low or chances are you’ll start the Back 9 with a three putt. Bunker left of green. -
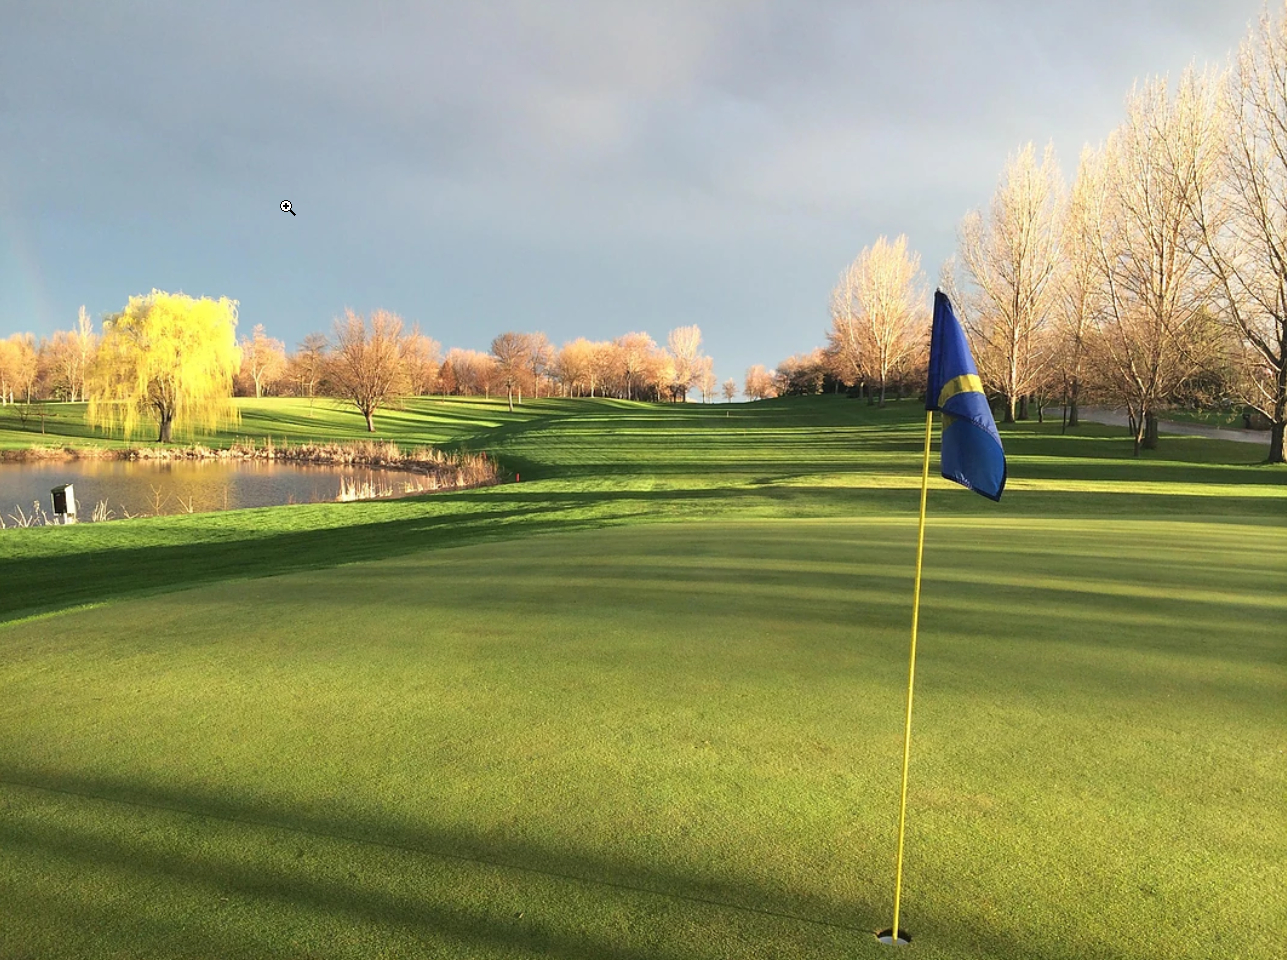
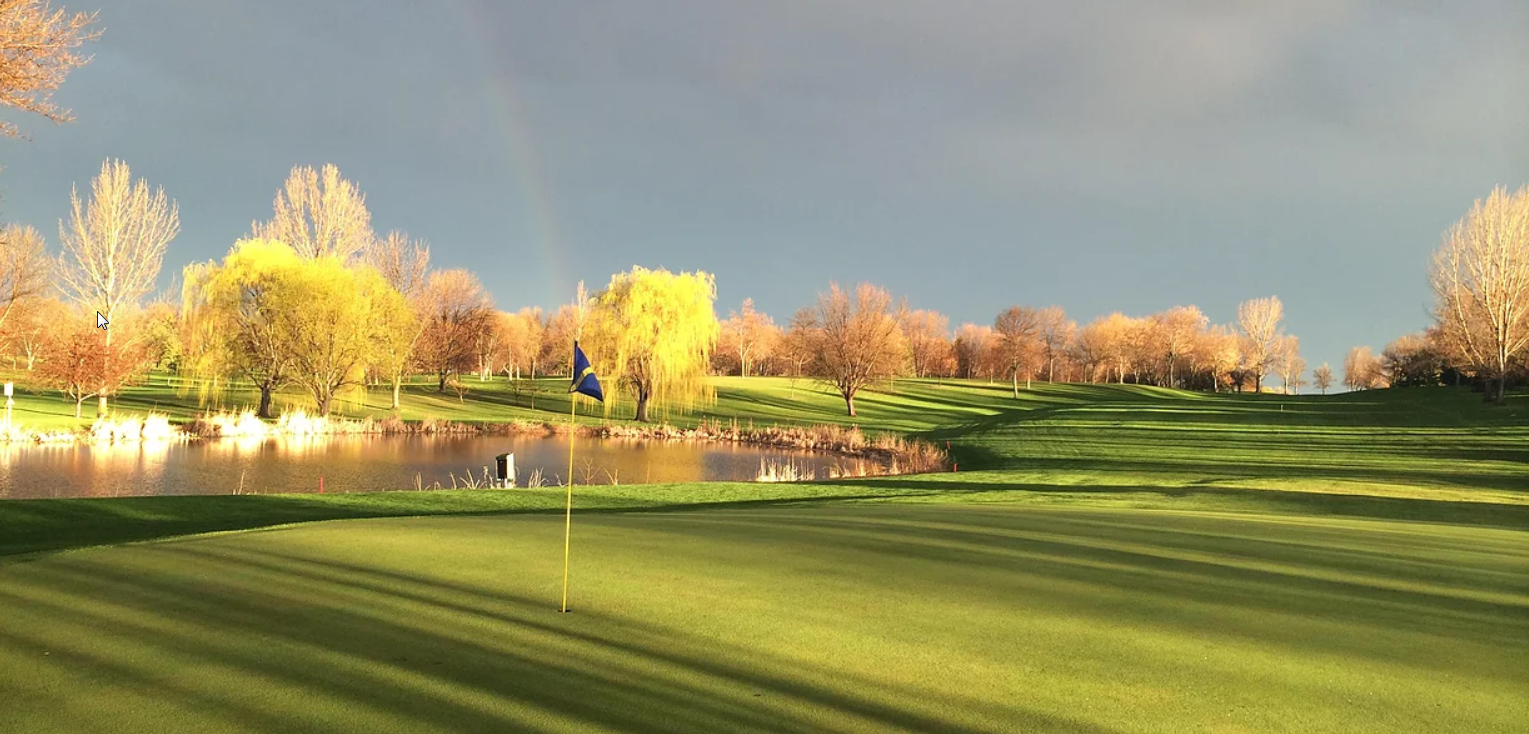
Hole #11
Eagle Creek’s signature hole. Standing high over Willmar Lake to your south, you are hitting north to a short Par 4 with Swan Lake in the background. It’s a “feast or famine” hole. Hawk’s Creek runs laterally on the left the length of the hole. Many players lay up with a seven iron to set up a short approach to the green. Big hitters will gun for the green, where a good shot will be rewarded with a birdie or better. -
Hole #12
Slightly uphill straightaway Par 4 with out of bounds running on the far left of hole. Good tee shots rewards you with a short approach to green. Bunker is hiding on left side of green. Better to be short of green than long, as green has a fair slant from front to back. Shots to right side pin placements will tend to slide right off the green. -
Hole #13
Birdie hole for the big hitters that can reach the green area in two. Favor the right side of fairway on tee shot to avoid the willow trees on left corner that will come into play on your second shot. Watch for out of bounds on far left side with a meandering creek running laterally. Take advantage of this one! -

Hole #14
You can see it all from the tee. Trees border left and right side. Solid, well placed tee shot will put you in good shape on an upslope. Bunkers on left and right sides of green. Shots that go long will fall off back edge and leave you with a difficult up and down. -
Hole #15
Dogleft Par 4 that is best played with tee shot down the middle to right side of fairway. Avoid the trees on left or you may plan some “ping pong” on this hole. Keep your approach inside the horseshoe contoured green area for best result. Green slants a fair amount-shots that don’t get more than one-third on the green may roll back off the front. -
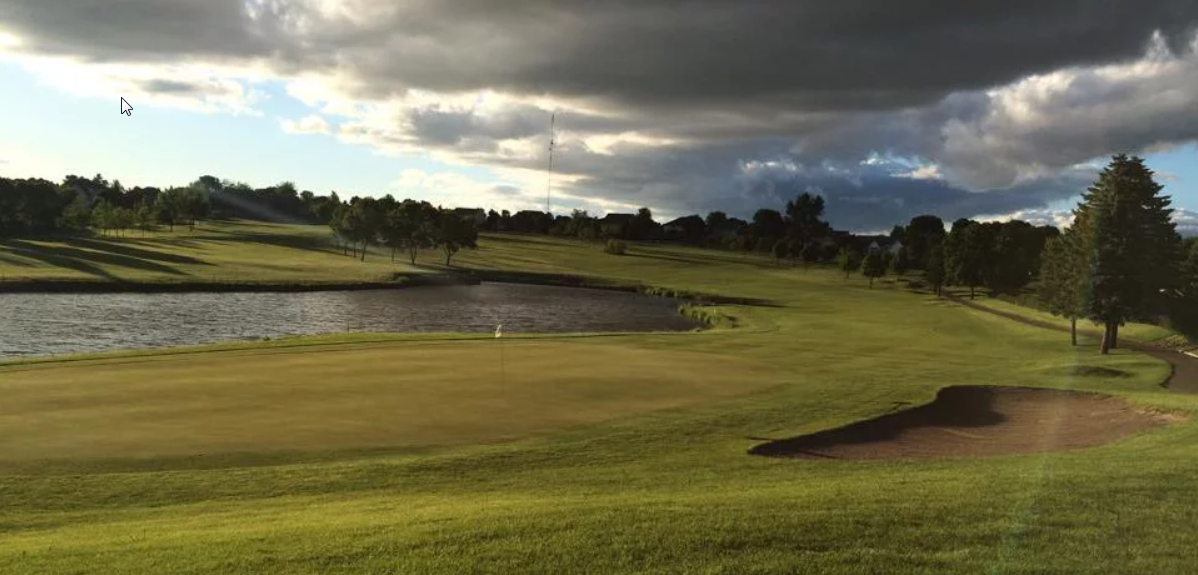
Hole #16
“The Road Hole” is a beautiful hole with different tee areas for your choice of play. The road is out of bounds and bunkers guard the left and right side of the green. With the exception of the creek running in front and along the right side, the green is a big target to shoot for-better to be below the hole if our course superintendent, Woody, as the greens rolling fast. -
Hole #17
Short Par 4 to take advantage of as you get ready to finish your round. Best to play middle right of fairway for easiest approach. Big green with bunker on left side of green that slopes left to right. It’s a true “bunny hole” for long drivers. Easy to come up short on back pin so trust your yardage and hit it! -
Hole #18
Good finishing hole with trees bordering the left and right sides. Tee shot placement is critical on hole, as it slants left to right. If you are not in the fairway, you may have to get creative on approach shot. The approach is slightly uphill to front and back sloped green. Pin placement is important. Put a press on your opponents and see if they fold up like a cheap tent! Don’t let the observers enjoying dinner on the deck get to you. Thank you for playing Eagle Creek!
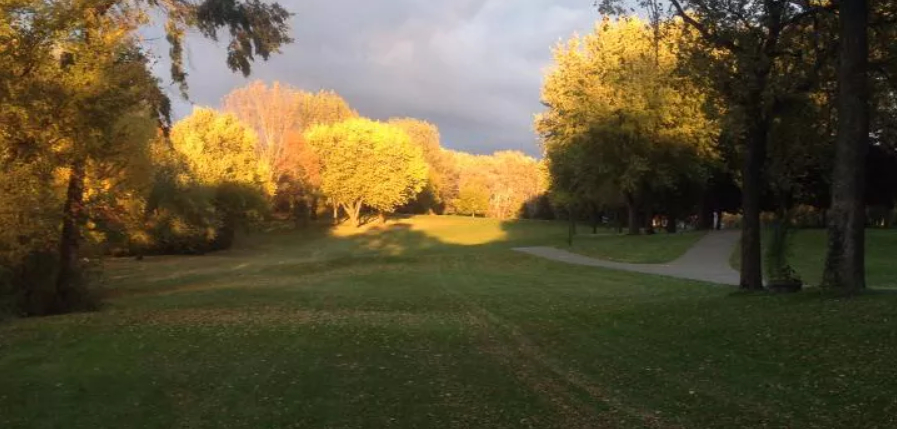
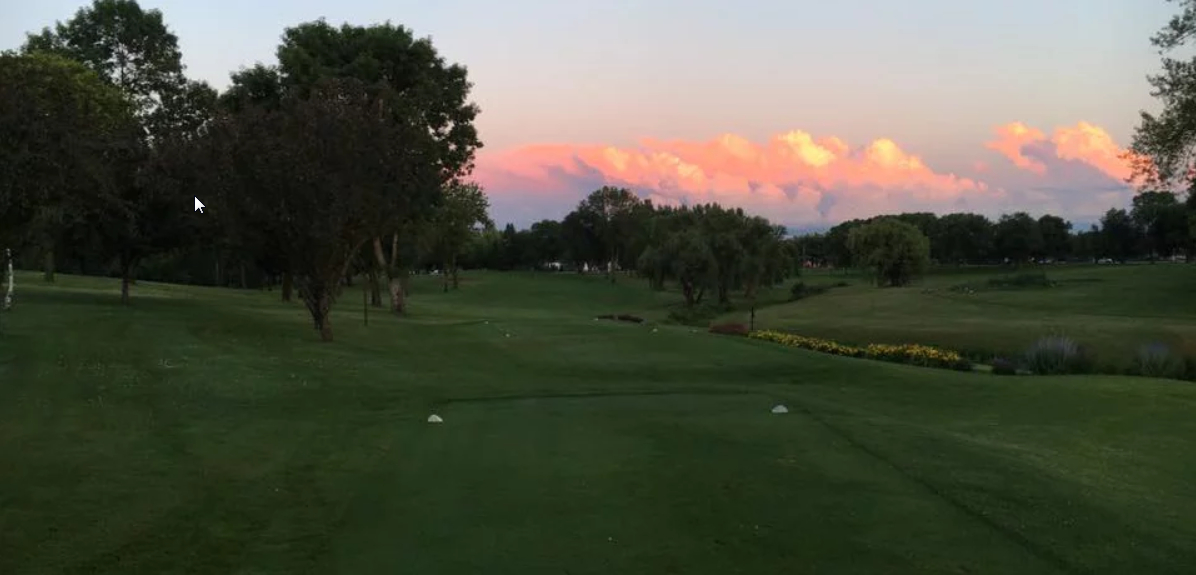
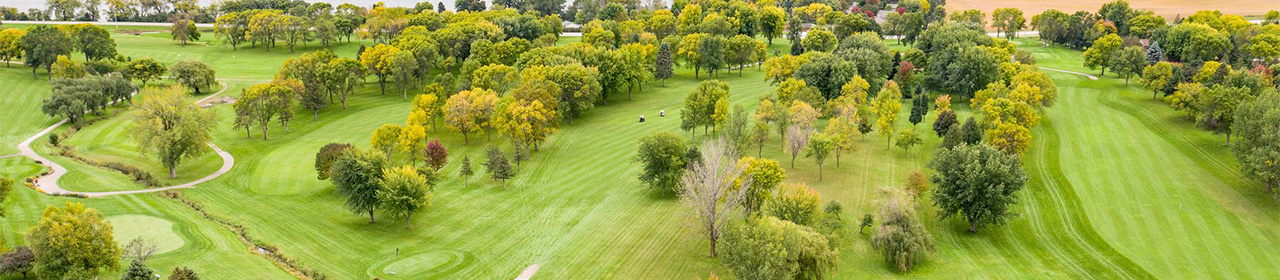
Course Flyover